最近再看Go语言web编程,使用net/http模块编写了一个简单的登录验证和文件上传的功能,在此做个简单记录。
目录
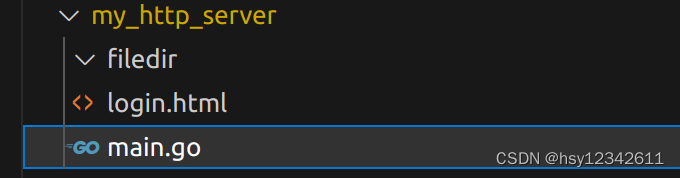
1.文件目录结构
2.编译运行
3.用户登录
4.文件上传
5.mime/multipart模拟form表单上传文件
代码如下:
package main
import (
"fmt"
"html/template"
"io"
"log"
"net/http"
"os"
)
/*
go运行方式:
(1)解释运行
go run main.go
(2)编译运行
--使用默认名
go build main.go
./main
--指定可执行程序名
go build -o test main.go
./test
*/
// http://127.0.0.1:8181/login
func login(w http.ResponseWriter, r *http.Request) {
fmt.Println("method", r.Method)
if r.Method == "GET" {
t, _ := template.ParseFiles("login.html")
t.Execute(w, nil)
/*
//字符串拼装表单
html := `<html>
<head>
<title>上传文件</title>
</head>
<body>
<form enctype="multipart/form-data" action="http://localhost:8181/upload" method="post">
<input type="file" name="uploadfile" />
<input type="hidden" name="token" value="{
{.}}" />
<input type="submit" value="upload" />
</form>
</body>
</html>`
crutime := time.Now().Unix()
h := md5.New()
io.WriteString(h, strconv.FormatInt(crutime, 10))
token := fmt.Sprintf("%x", h.Sum(nil))
t := template.Must(template.New("test").Parse(html))
t.Execute(w, token)
*/
} else {
r.ParseForm()
fmt.Println("username", r.Form["username"])
fmt.Println("password", r.Form["password"])
fmt.Fprintf(w, "登录成功")
}
}
// http://127.0.0.1:8181/upload
func upload(writer http.ResponseWriter, r *http.Request) {
//表示maxMemory,调用ParseMultipart后,上传的文件存储在maxMemory大小的内存中,
//如果大小超过maxMemory,剩下部分存储在系统的临时文件中
r.ParseMultipartForm(32 << 10)
//根据input中的name="uploadfile"来获得上传的文件句柄
file, header, err := r.FormFile("uploadfile")
if err != nil {
fmt.Fprintf(writer, "上传出错")
fmt.Println(err)
return
}
defer file.Close()
/*
fmt.Printf("Uploaded File: %+v\n", header.Filename)
fmt.Printf("File Size: %+v\n", header.Size)
// 注意此处的header.Header是textproto.MIMEHeader类型 ( map[string][]string )
fmt.Printf("MIME Type: %+v\n", header.Header.Get("Content-Type"))
// 将文件保存到服务器指定的目录(* 用来随机数的占位符)
tempFile, err := ioutil.TempFile("uploads", "*"+header.Filename)
*/
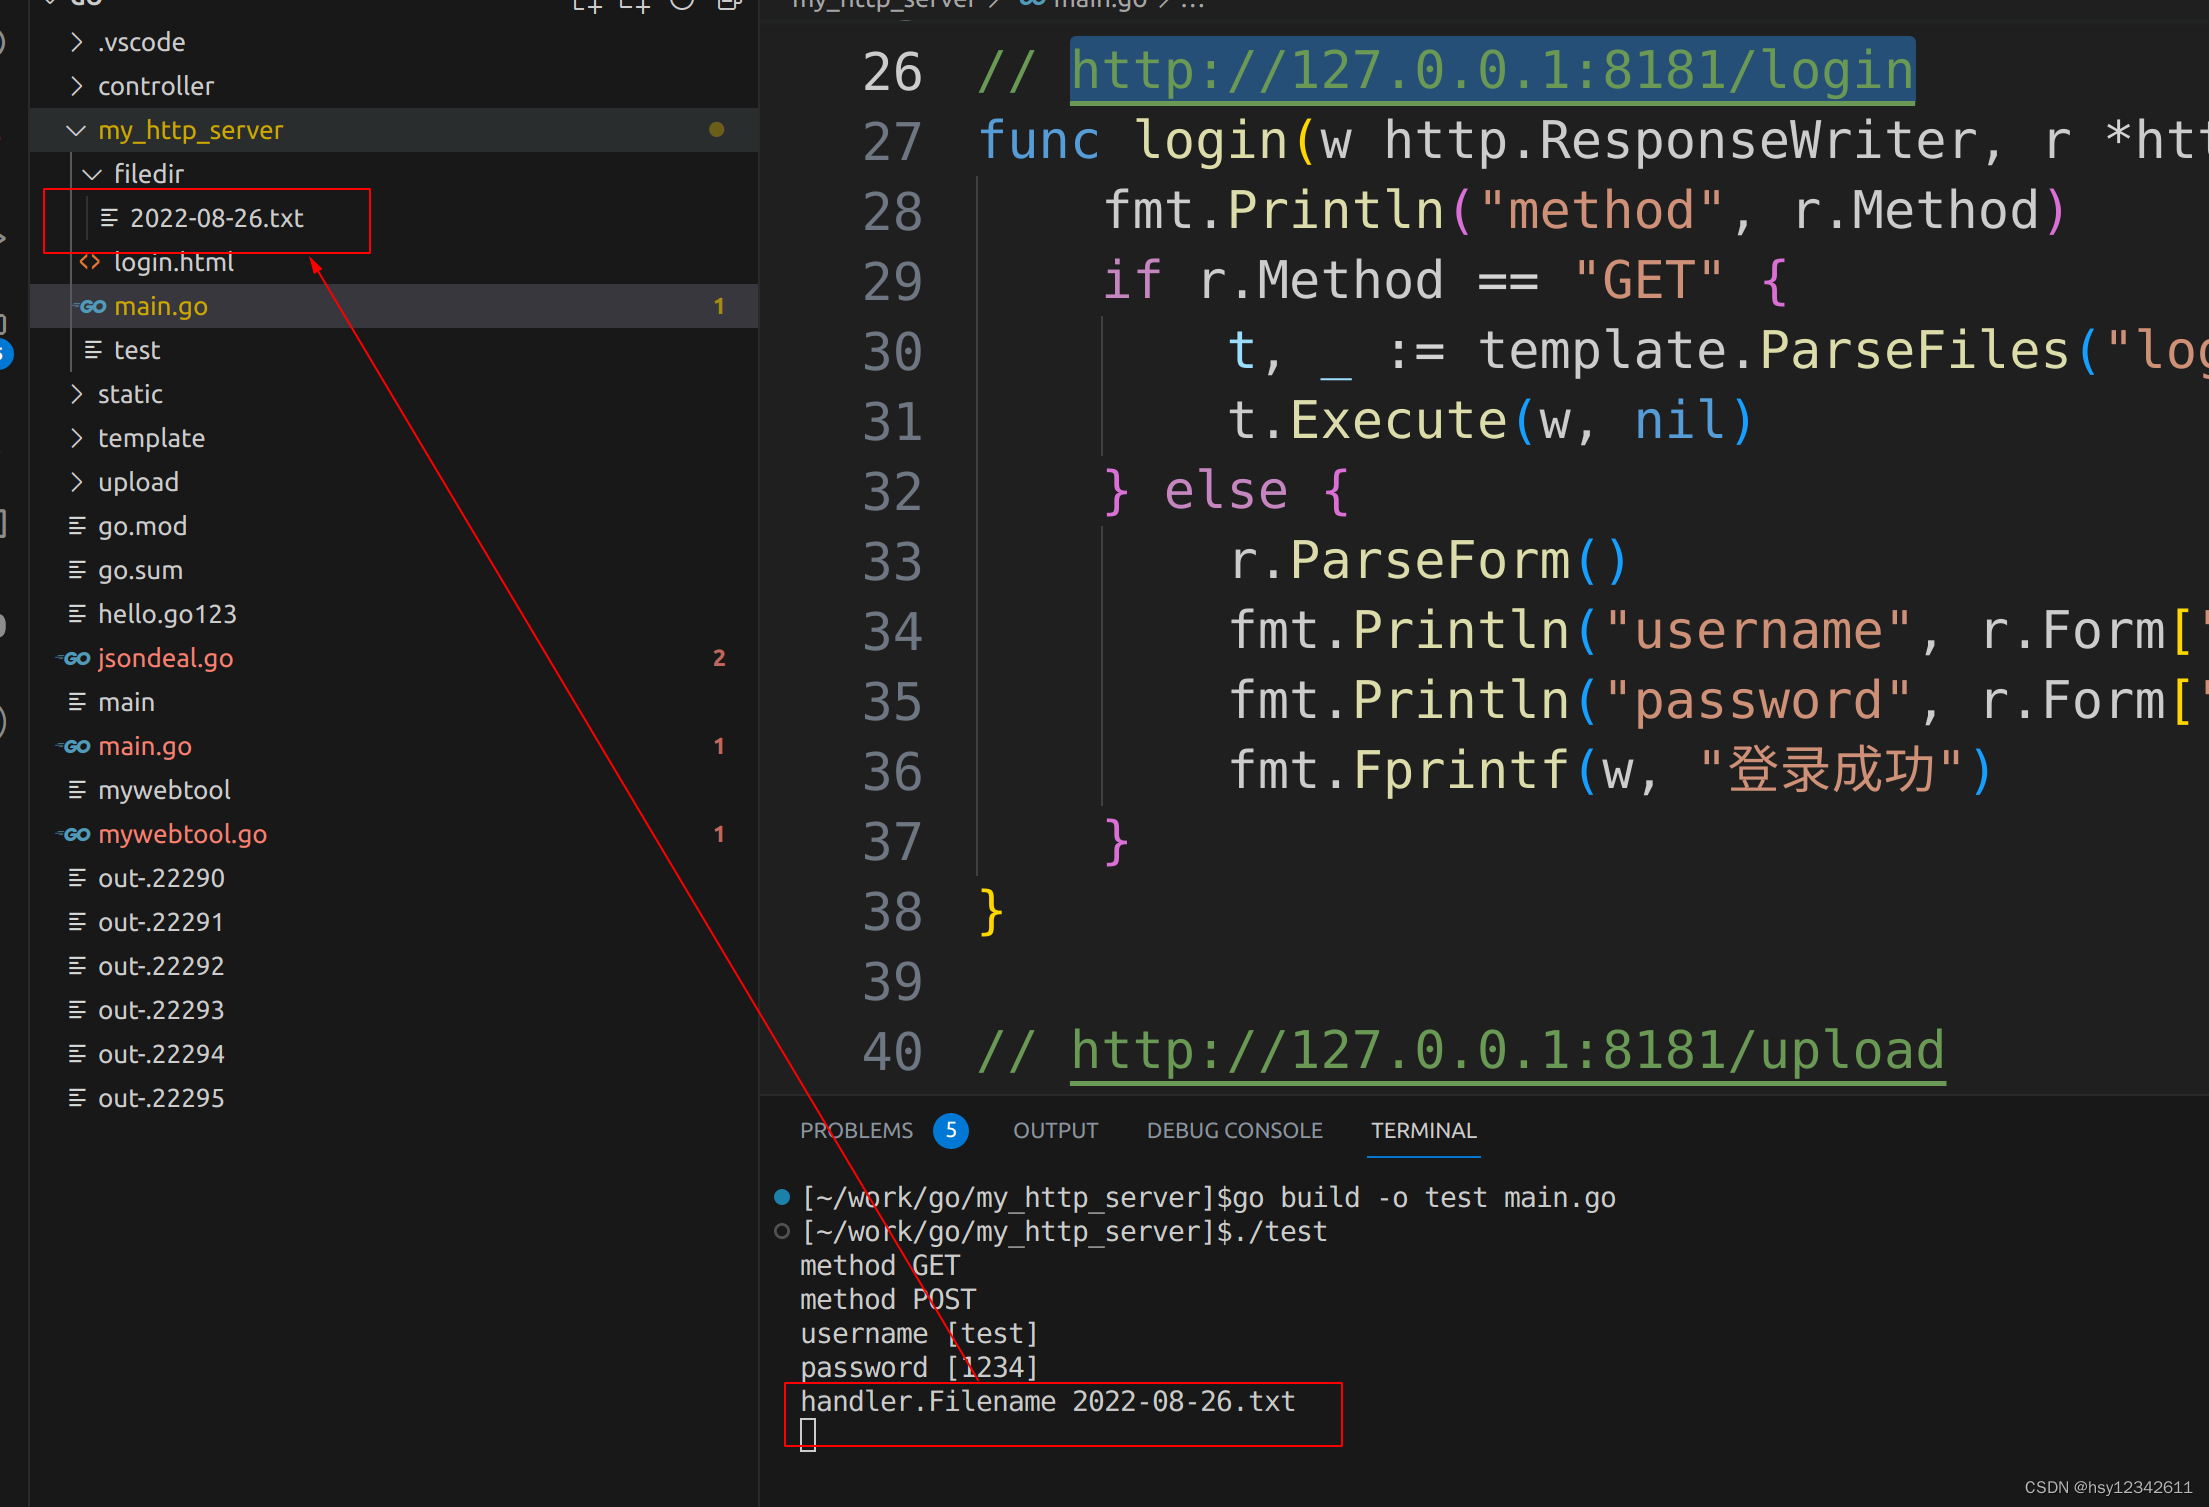
fmt.Println("handler.Filename", header.Filename)
f, err := os.OpenFile("./filedir/"+header.Filename, os.O_WRONLY|os.O_CREATE, 0666)
if err != nil {
fmt.Println(err)
fmt.Fprintf(writer, "上传出错")
return
}
defer f.Close()
io.Copy(f, file)
fmt.Fprintf(writer, "上传成功")
}
func common_handle() {
http.HandleFunc("/", func(w http.ResponseWriter, r *http.Request) {
w.Write([]byte("Hello world !"))
})
http.HandleFunc("/login", login)
http.HandleFunc("/upload", upload)
}
func main1() {
common_handle()
//监听8181端口
err := http.ListenAndServe(":8181", nil)
if err != nil {
log.Fatal("err:", err)
}
}
// 声明helloHandler
type helloHandler struct{}
// 定义helloHandler
func (m11111 *helloHandler) ServeHTTP(w http.ResponseWriter, r *http.Request) {
w.Write([]byte("Hello world, this is my first golang programe !"))
}
func welcome(w http.ResponseWriter, r *http.Request) {
w.Write([]byte("Welcome to golang family !"))
}
func main2() {
a := helloHandler{}
//使用http.Handle
http.Handle("/hello", &a)
http.Handle("/welcome", http.HandlerFunc(welcome))
common_handle()
server := http.Server{
Addr: "127.0.0.1:8181",
Handler: nil, // 对应DefaultServeMux路由
}
server.ListenAndServe()
}
func main() {
main2()
}
login.html
<!DOCTYPE html>
<html lang="en">
	<head>
		<meta charset="UTF-8"/>
		<title>欢迎进入首页</title>
	</head>
	<body>
		<h3>登录测试</h3>
		<hr/>

		<form action="http://localhost:8181/login" method="post">
			<table border=0 title="测试">
				<tr>
					<td>用户名:</td>
					<td><input type="text" name="username"></td>
				</tr>
				<tr>
					<td>密码:</td>
					<td><input type="password" name="password"></td>
				</tr>
				<tr>
					<td colspan=2>
						<input type="reset" />
						<input type="submit" value="登录" />
					</td>
				</tr>
			</table>
		</form>
		<br>
		<h3>文件上传测试</h3>
		<hr/>
		<form action="http://localhost:8181/upload" method="post" enctype="multipart/form-data">
			<input type="file" name="uploadfile"/>
			<input type="submit" value="upload">
		</form>
	</body>
</html>
1.文件目录结构
2.编译运行

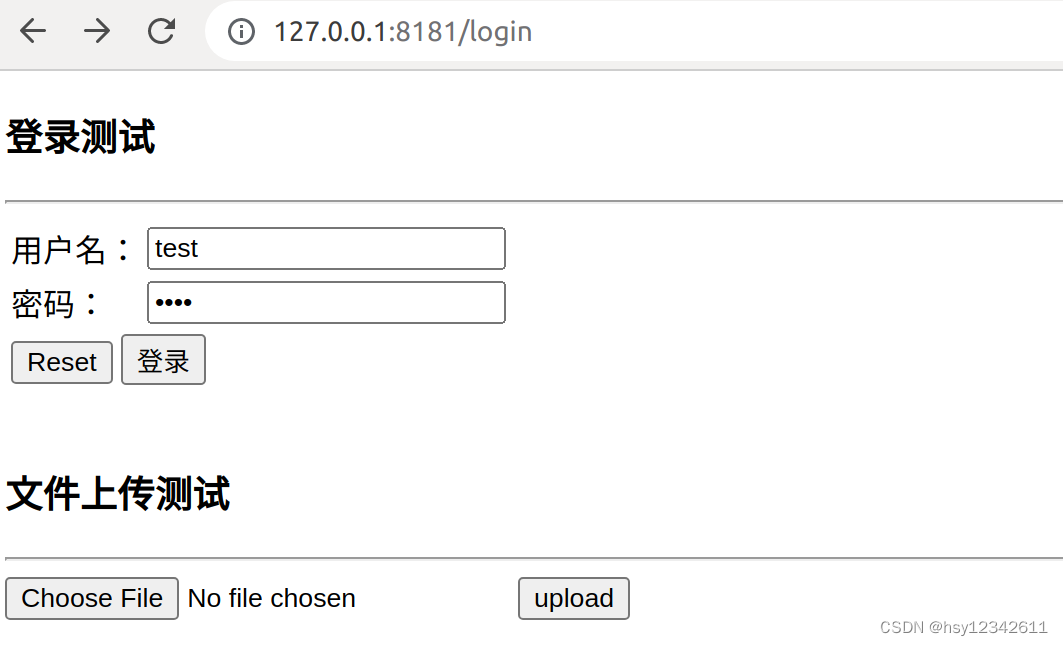
3.用户登录
http://127.0.0.1:8181/login
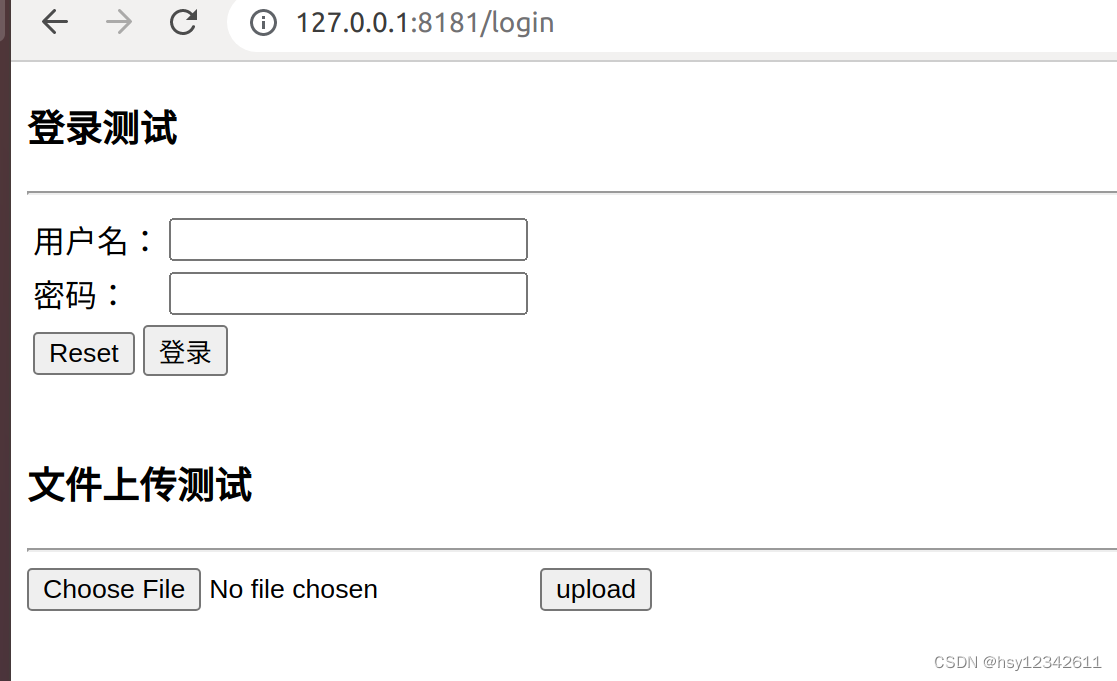


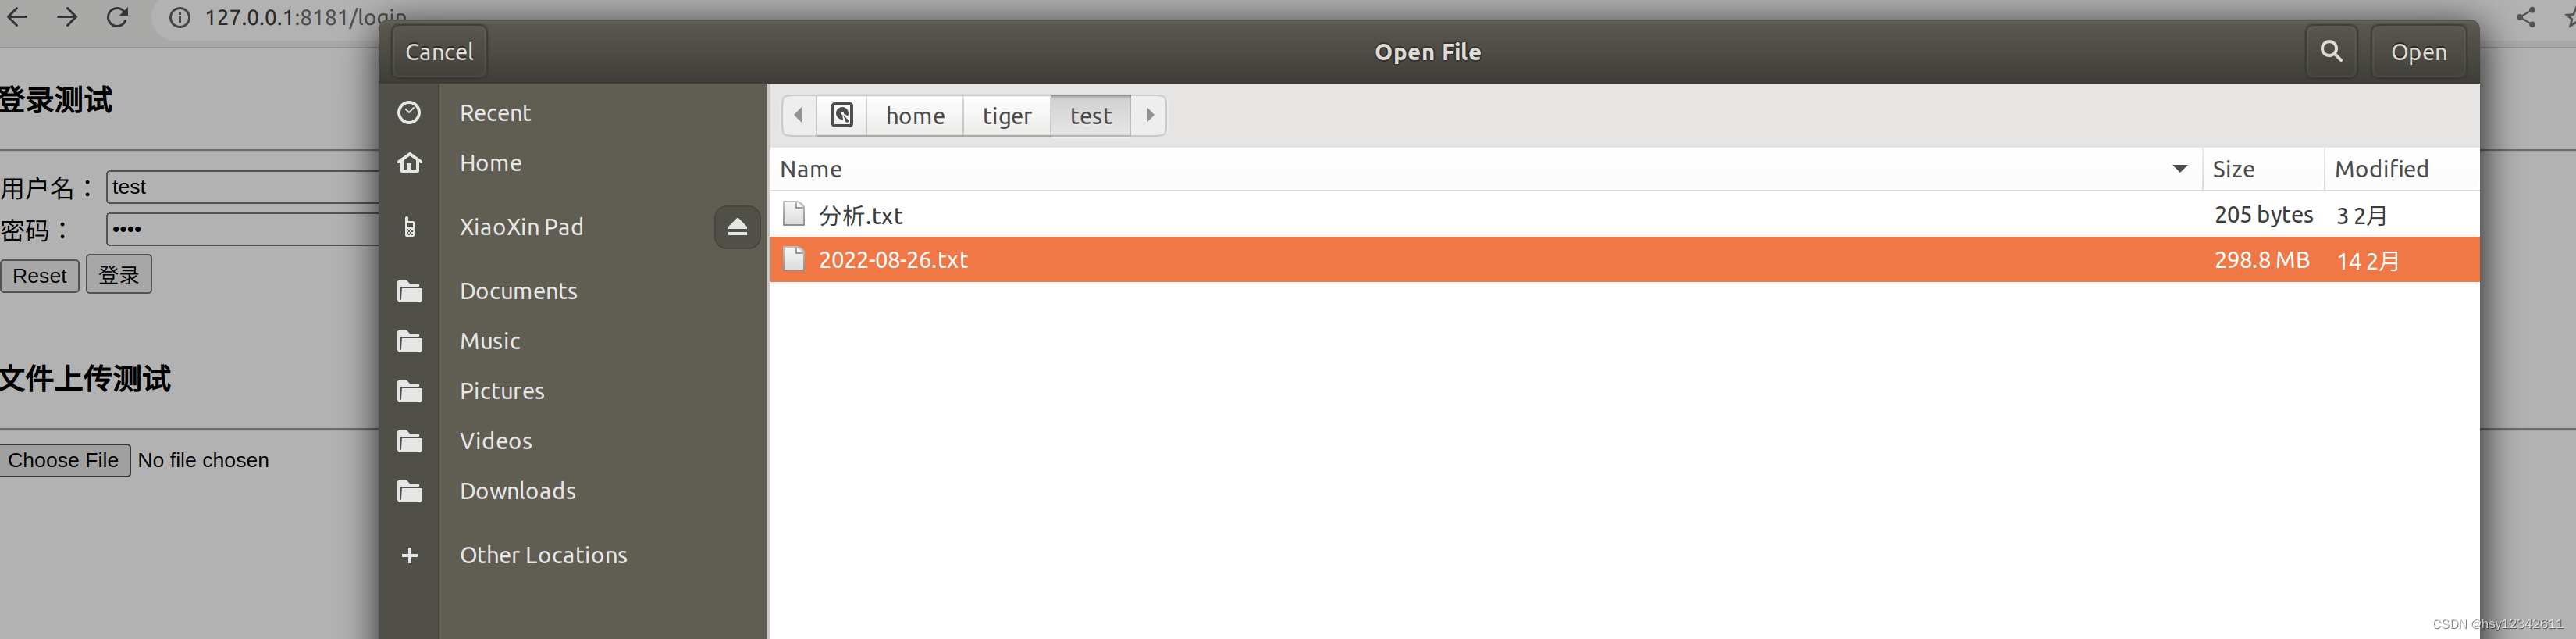
4.文件上传


5.mime/multipart模拟form表单上传文件
使用mime/multipart包,可以将multipart/form-data数据解析为一组文件和表单字段,或者使用multipart.Writer将文件和表单字段写入HTTP请求体中。
以下例子中首先打开要上传的文件,然后创建一个multipart.Writer,用于构造multipart/form-data格式的请求体。我们使用CreateFormFile方法创建一个multipart.Part,用于表示文件字段,将文件内容复制到该Part中。我们还使用WriteField方法添加其他表单字段。然后,我们关闭multipart.Writer,以便写入Content-Type和boundary,并使用NewRequest方法创建一个HTTP请求。我们将Content-Type设置为multipart/form-data,并使用默认的HTTP客户端发送请求。最后,我们读取并处理响应。
关于什么是multipart/form-data?
multipart/form-data的基础是post请求,即基于post请求来实现的
multipart/form-data形式的post与普通post请求的不同之处体现在请求头,请求体2个部分
1)请求头:
必须包含Content-Type信息,且其值也必须规定为multipart/form-data,同时还需要规定一个内容分割符用于分割请求体中不同参数的内容(普通post请求的参数分割符默认为&,参数与参数值的分隔符为=)。
具体的头信息格式如下:
Content-Type: multipart/form-data; boundary=${bound}
其中${bound} 是一个占位符,代表我们规定的具体分割符;可以自己任意规定,但为了避免和正常文本重复了,尽量要使用复杂一点的内容。如:—0016e68ee29c5d515f04cedf6733
比如有一个body为:
--0016e68ee29c5d515f04cedf6733\r\nContent-Type: text/plain; charset=ISO-8859-1\r\nContent-Disposition: form-data; name=text\r\nContent-Transfer-Encoding: quoted-printable\r\n\r\nwords words words wor=\r\nds words words =\r\nwords words wor=\r\nds words words =\r\nwords words\r\n--0016e68ee29c5d515f04cedf6733\r\nContent-Type: text/plain; charset=ISO-8859-1\r\nContent-Disposition: form-data; name=submit\r\n\r\nSubmit\r\n--0016e68ee29c5d515f04cedf6733--2)请求体:
它也是一个字符串,不过和普通post请求体不同的是它的构造方式。普通post请求体是简单的键值对连接,格式如下:
k1=v1&k2=v2&k3=v3
而multipart/form-data则是添加了分隔符、参数描述信息等内容的构造体。
具体格式如下:
--${bound}
Content-Disposition: form-data; name="Filename" //第一个参数,相当于k1;然后回车;然后是参数的值,即v1
HTTP.pdf //参数值v1
--${bound} //其实${bound}就相当于上面普通post请求体中的&的作用
Content-Disposition: form-data; name="file000"; filename="HTTP协议详解.pdf" //这里说明传入的是文件,下面是文件提
Content-Type: application/octet-stream //传入文件类型,如果传入的是.jpg,则这里会是image/jpeg %PDF-1.5
file content
%%EOF
--${bound}
Content-Disposition: form-data; name="Upload"
Submit Query
--${bound}--
都是以${bound}为开头的,并且最后一个${bound}后面要加—
test.go
package main

import (
	"bytes"
	"fmt"
	"io"
	"io/ioutil"
	"mime/multipart"
	"net/http"
	"os"
	"path/filepath"
)

func main() {
	// 需要上传的文件路径
	filePath := "image_2023_06_29T11_46_39_023Z.png"

	// 打开要上传的文件
	file, err := os.Open(filePath)
	if err != nil {
		fmt.Println("Failed to open file:", err)
		return
	}
	defer file.Close()

	// 创建multipart.Writer,用于构造multipart/form-data格式的请求体
	var requestBody bytes.Buffer
	multipartWriter := multipart.NewWriter(&requestBody)

	// 创建一个multipart.Part,用于表示文件字段
	part, err := multipartWriter.CreateFormFile("uploadfile", filepath.Base(filePath))
	if err != nil {
		fmt.Println("Failed to create form file:", err)
		return
	}

	// 将文件内容复制到multipart.Part中
	_, err = io.Copy(part, file)
	if err != nil {
		fmt.Println("Failed to copy file content:", err)
		return
	}

	// 添加其他表单字段
	multipartWriter.WriteField("title", "My file")

	// 关闭multipart.Writer,以便写入Content-Type和boundary
	err = multipartWriter.Close()
	if err != nil {
		fmt.Println("Failed to close multipart writer:", err)
		return
	}

	// 创建HTTP请求
	req, err := http.NewRequest("POST", "http://127.0.0.1:8181/upload", &requestBody)
	if err != nil {
		fmt.Println("Failed to create request:", err)
		return
	}

	// 设置Content-Type为multipart/form-data
	req.Header.Set("Content-Type", multipartWriter.FormDataContentType())

	// 发送HTTP请求
	client := http.DefaultClient
	resp, err := client.Do(req)
	if err != nil {
		fmt.Println("Failed to send request:", err)
		return
	}
	defer resp.Body.Close()

	// 处理响应
	respBody, err := ioutil.ReadAll(resp.Body)
	if err != nil {
		fmt.Println("Failed to read response:", err)
		return
	}
	fmt.Println("Response:", string(respBody))
}
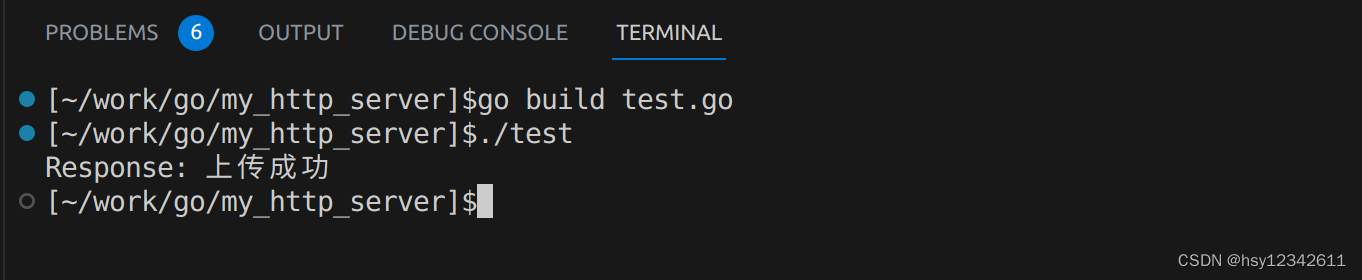
编译执行:
go build test.go
./test
运行结果展示: